3D Snowflakes - Winter Crafts for Kids
Are you looking for a fun activity for the holidays that is inexpensive and doubles as beautiful home decor? I got you covered!
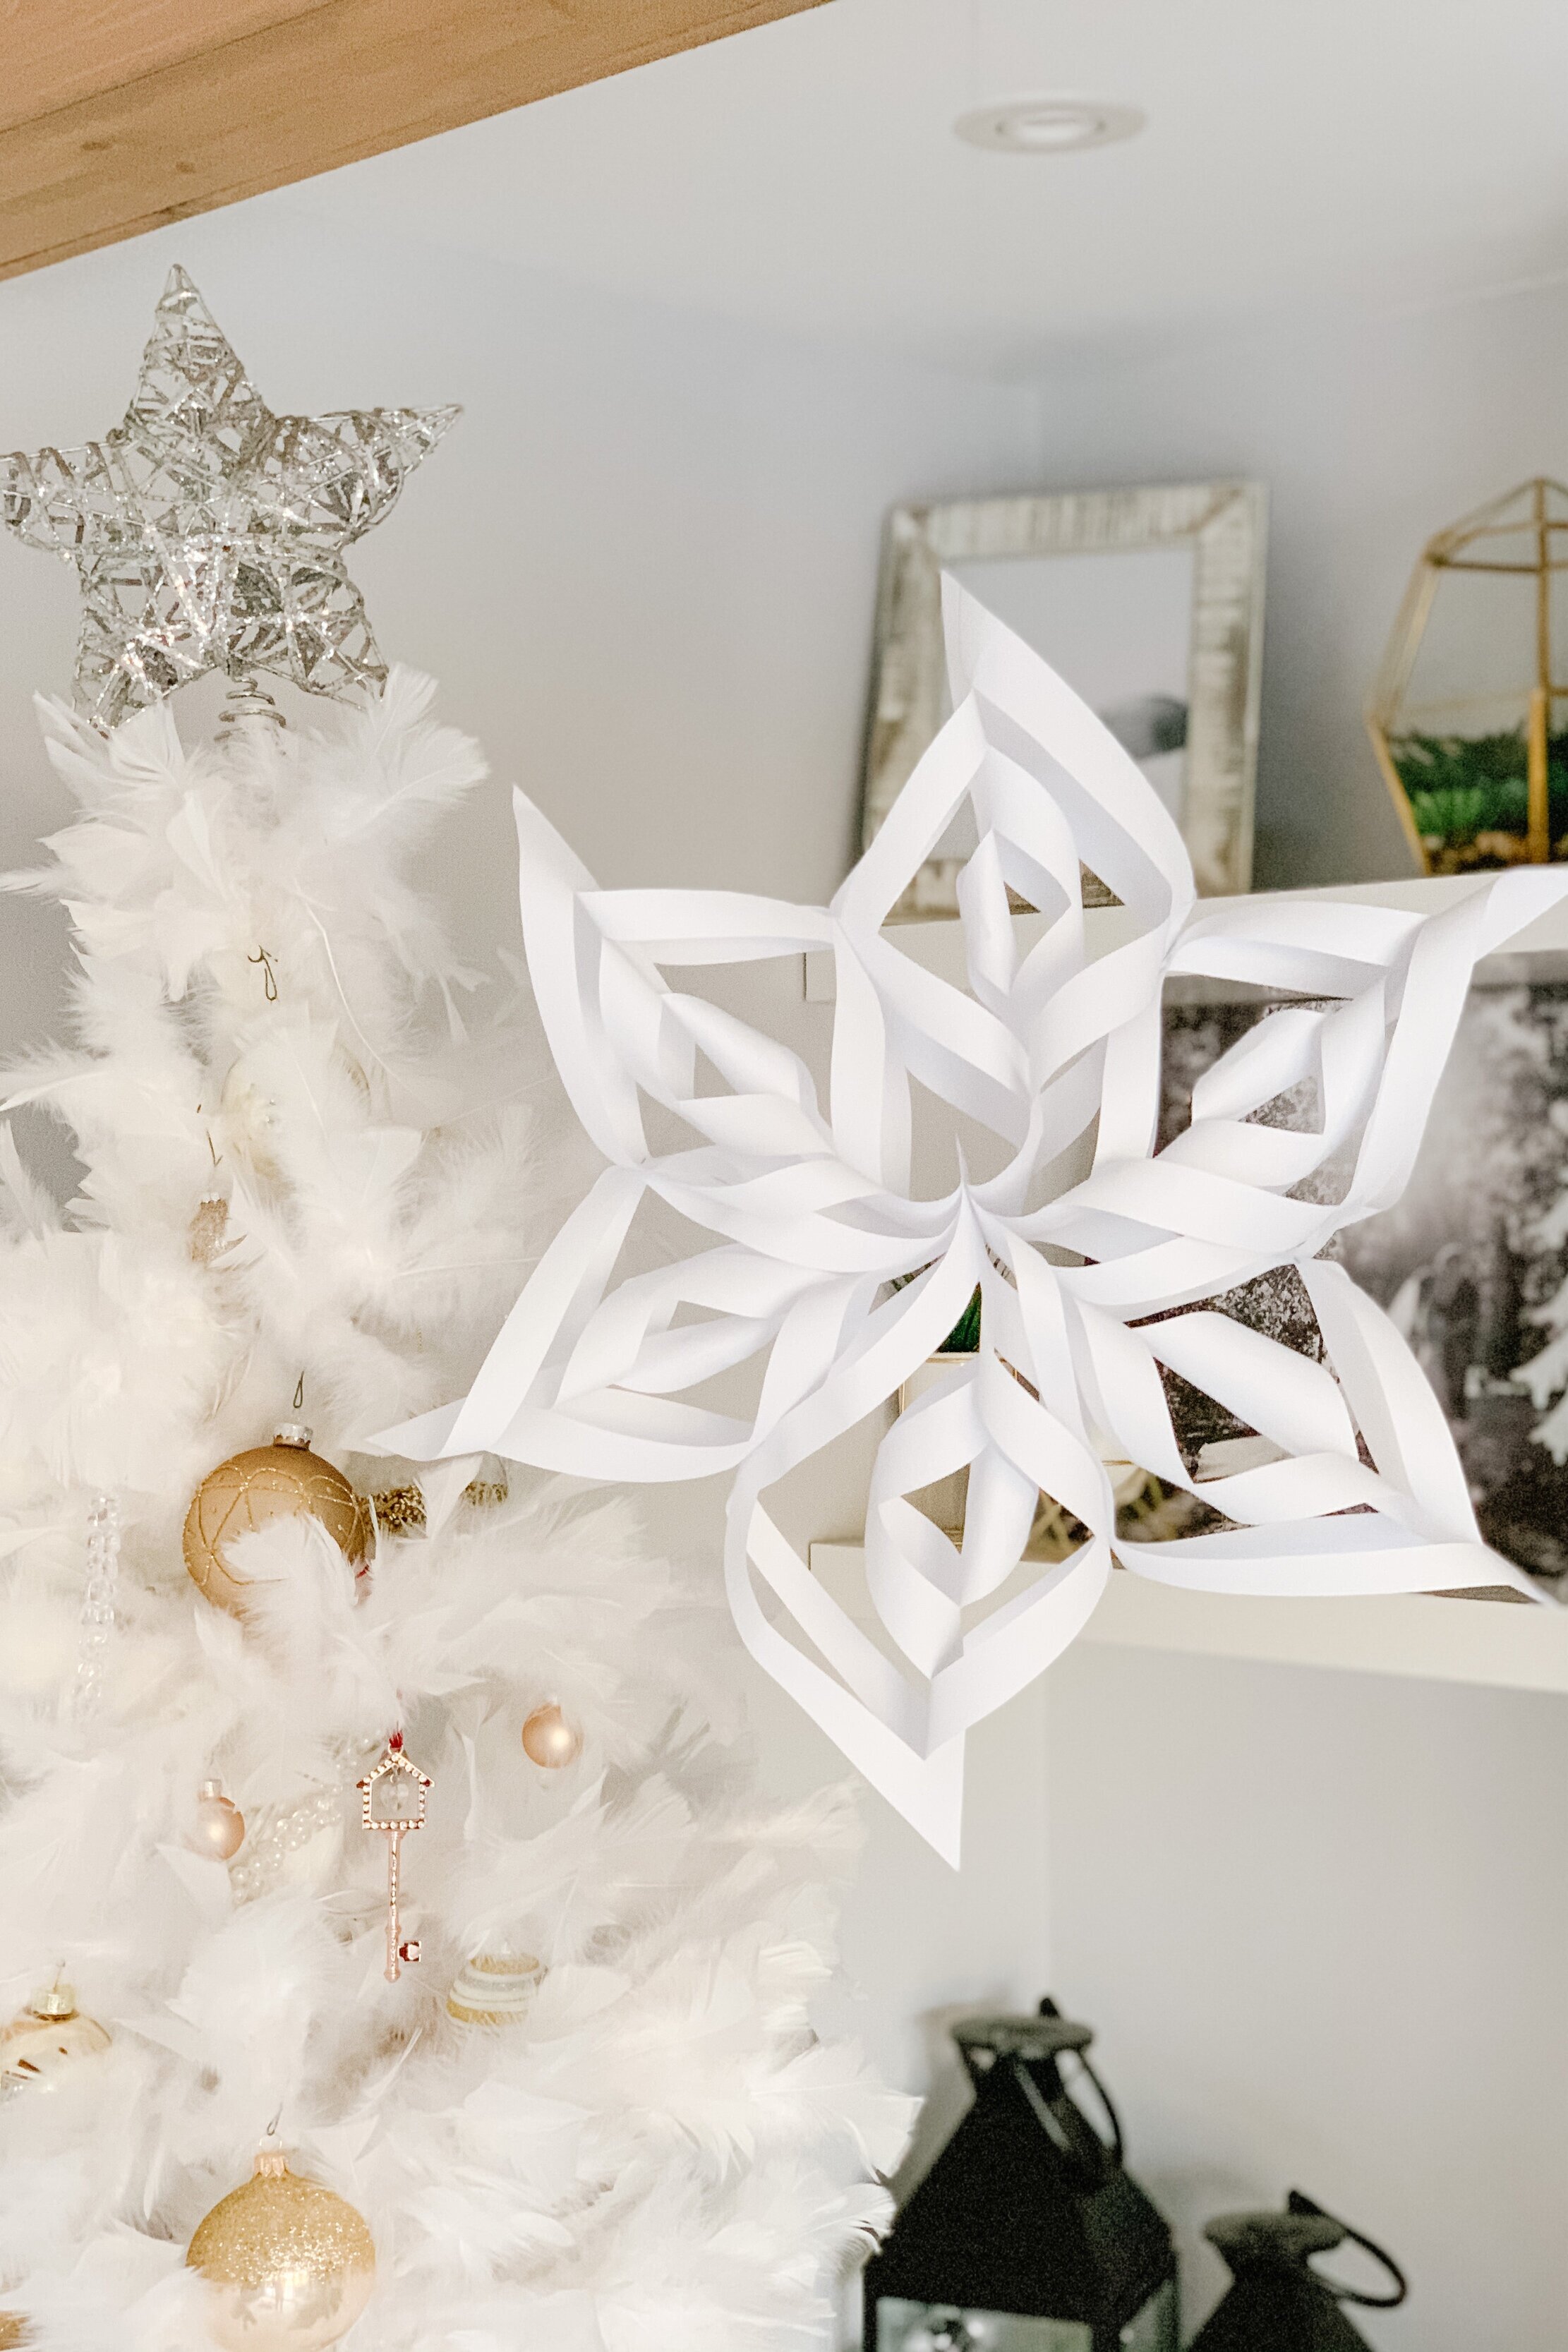
What I love about these snowflakes is how beautiful and festive they make my family room! My son had a blast watching these come to life. I am looking forward to future years where he can craft along with me as he is still a little young to hold a pair of scissors. He loved watching mama and helping along the way.
There are many things you can do to make these more interesting for little ones as well. Try using coloured paper or painting/colouring the white pages for added fun. You could even add in some sparkles!
You will need:
- White Paper
- Tape
- Stapler (or glue)
- Scissors


Instructions to make one snowflake:
1) Make 6 identical squares out of white paper. If you are using 8.5x11 printer paper, simply fold a corner into a triangle and cut the excess off.
2) Once you have your square, fold it diagonally back into a triangle, and then in half once again to create an even smaller triangle.
3) Cut three slits into the triangle, ensuring you do not cut all the way through. (See example in photo).
4) Unfold the paper square.
5) Tape the innermost flaps together.
6) Flip the paper over and tape the second piece of flaps together. (Repeat until all flaps are tapped together)
7) Once you have all 6 pieces created, bring all 6 bottom corners together and secure (I used a stapler here to make it easy!)
8) Now you should have a shape resembling a snowflake! To ensure the arms do not move around, secure the middle points with a little tape, glue or staple.
9) Hang using fishing line to hide the string.
Enjoy your new beautiful home décor while you sit back having your apple cider, eggnog or beverage of choice. Cheers, Mamas!

